Required Hardware and software for iphone
- Mac OS X v10.5.2
- 2-3 GBs of hard disk space
Pre-Requisite
you have installed the iTunes 7.6.1 before installing the iPhone SDK,if fails the Xcode IDE
- Download the iPhone SDK from the following URL : http://developer.apple.com/iphone/sdk1
- Before download the file,it will ask your own Apple ID. If you don't have the Apple ID,just click the “Create Apple ID” button and fill your details in the form.

3. Apple will send an email to your ID which is given by you during the registration. They send a confirmation mail and also give the link for downloading the SDK.
4. After downloading the SDK (.dmg extension), double click on the file and it will shown the window like this

5. select iPhone SDK icon and double click on it.

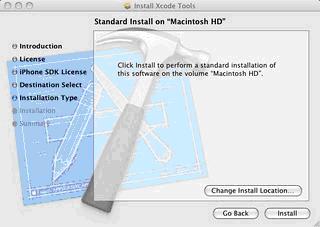
6. In iPhone SDK Bundle, you can select required tools using “Custom Install” as shown in below figure

7. To change the installation location for installing the SDK or install in the default location. The default installation location is /Developer.
8.During the installation, it will require the Mac user name and password,

9. After validating the user name and password, the installation will start and the
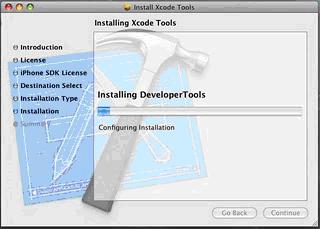
Installation window looks like this
10 .Once you have proceed the SDK setup without any interrupts, the SDK installation will succeed.

Installation Tools
1. iPhone Simulator
· The Simulator is known to fail when run by a user other than the user account under which the iPhone SDK was installed
· Resetting the Simulator using the on-device Settings app by clicking
· Settings > General > Reset will leave the Simulator "stuck".
2. Xcode IDE
Xcode IDE, a graphical workbench that tightly integrates a professional text editor, a robust build system, a debugger, and the powerful GCC compiler capable of targeting Intel and PowerPC regardless of host platform.
3. Interface Builder
Interface Builder is an application for designing and testing user interfaces. Developers can use Interface Builder to create user interfaces that follow the Mac OS X human-interface guidelines by dragging user-interface elements from a palette of predefined controls and dropping them into the window or view they are configuring.
Creating a project :
>> Launch Xcode (by default it’s in
/Developer/Applications), then create a new project by choosing File > New Project. You should see a new window similar to this:
>> Select the Window-Based Application.
>> Click Choose.
A sheet appears to allow you to select where your project will be saved
>> Select a suitable location for your project (such as the Desktop or a custom Projects directory), then give the project a name—
HelloWorld—and click Save.
If you haven’t used Xcode before, take a moment to explore the application. You should read Xcode Workspace Guide to understand the organization of the project window and how to perform basic tasks like editing and saving files. You can now build and run the application to see what the Simulator looks like
>> Choose Build > Build and Go (Run) or click the Build and Go button in the toolbar.
>> Quit the Simulator.
No comments:
Post a Comment